AWS Console Demos with Camtasia and After Effects for YouTube
A workflow for recording AWS Console demos and exporting 4K video for YouTube. Compares Dell 4K and Apple Studio Display setups.
Overview
This post documents a workflow for recording AWS Console screen captures and exporting them as high-quality 4K video for YouTube. The workflow uses Camtasia for capture, After Effects for compositing, and Adobe Media Encoder for final export.
I have access to two monitors: a Dell U2723QE 27” (4K) and an Apple Studio Display 27” (5K). After testing both, I’m happy with the results from either. This post documents both workflows so I can reference the correct settings depending on which monitor I’m using.
Problem
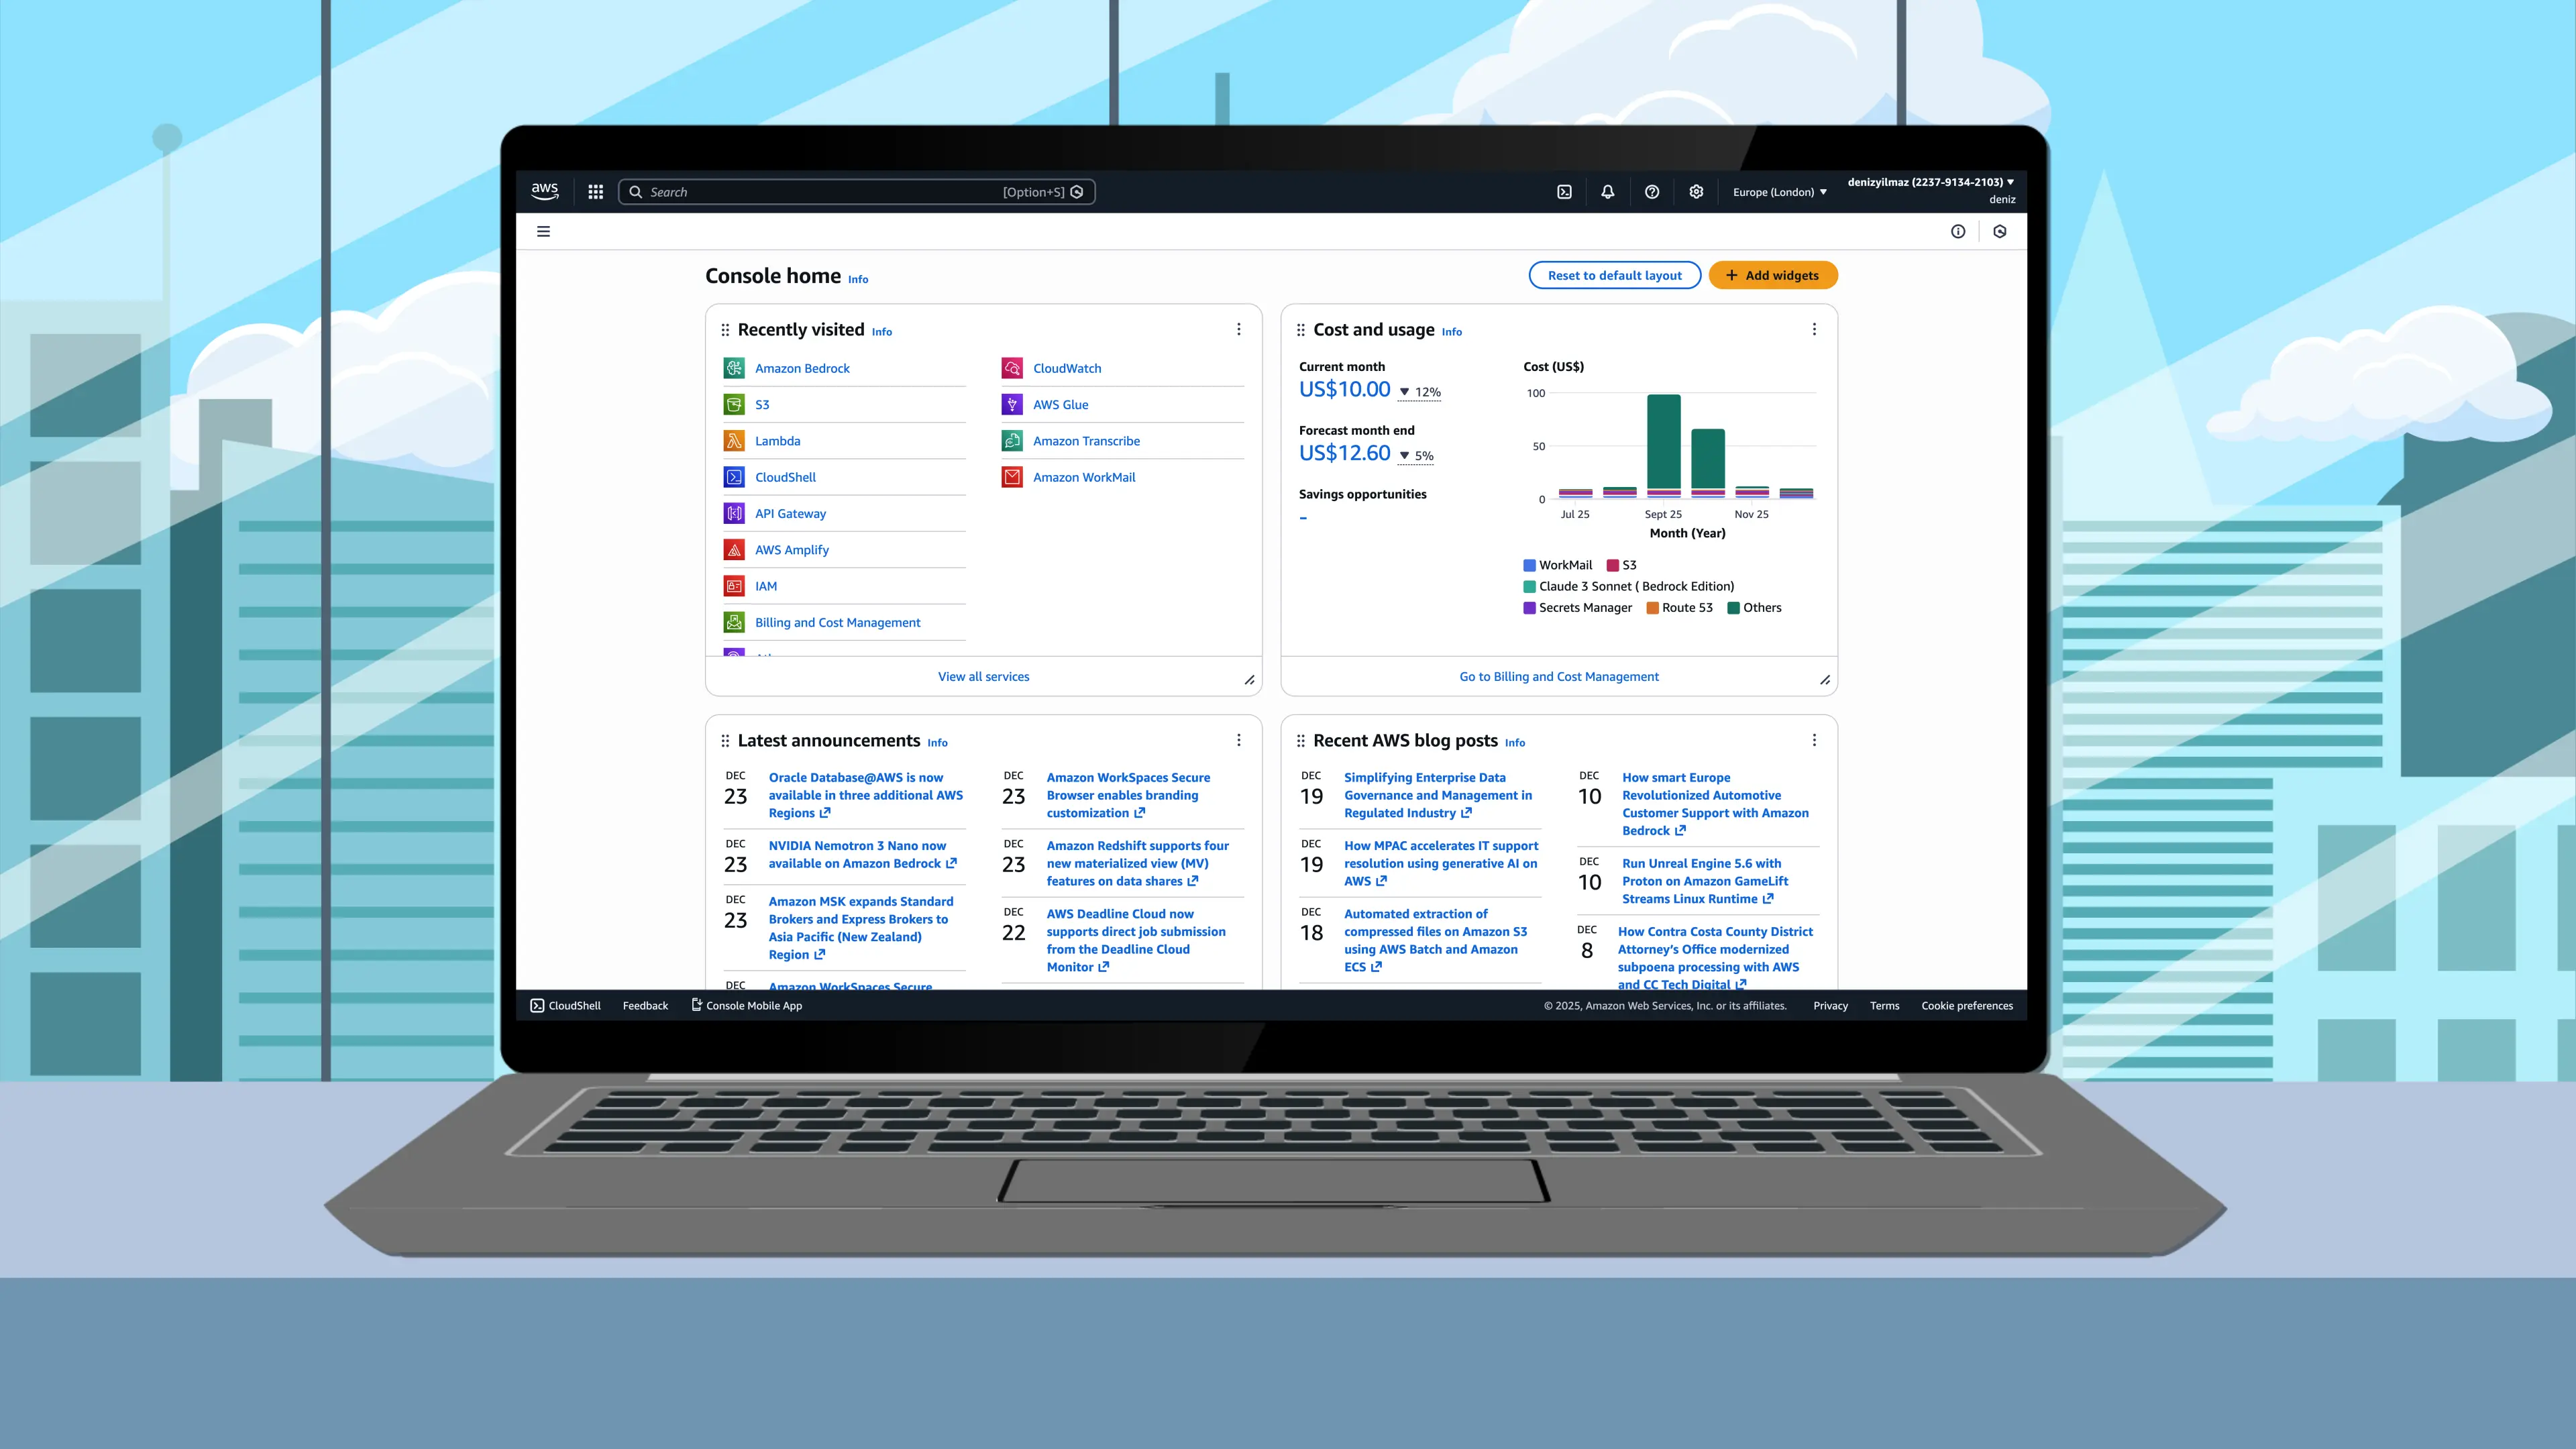
Recording AWS Console walkthroughs at 1920×1080 generally looked fine during capture, especially when uploaded directly to YouTube. The limitations only became obvious once I started importing recordings into After Effects and scaling them for device frame mockups.
Solution
Record at the highest practical resolution for your monitor, edit in a 4K After Effects composition, and export at 4K. The Dell offers native 4K recording, which matches the composition size exactly and requires no upscaling. The Apple Studio Display doesn’t offer a native 4K option, so 3200×1800 is the highest resolution below 5K.
Display Comparison
| Dell U2723QE | Apple Studio Display | |
|---|---|---|
| Screen Size | 27” | 27” |
| Panel Resolution | 3840×2160 (4K) | 5120×2880 (5K) |
| Recording Resolution | 3840×2160 | 3200×1800 |
| Chrome Zoom | 200% | 175% |
| AE Full Screen Scale | 100% | 120% |
| AE Device Frame Scale | ~60% | ~70% |
| Upscaling Required | No | Yes (1.2×) |
The Dell records at native 4K, which matches the After Effects composition exactly—no upscaling required. The footage sits at 100% scale in the timeline.
The Apple Studio Display jumps from 3200×1800 directly to 5120×2880 (5K), which exceeds the 4K composition size. Recording at 5K would require scaling down to fit the timeline, which offers no advantage. This makes 3200×1800 the practical ceiling on the Studio Display, requiring a 120% upscale to fill the 4K frame.
Available Resolutions
| Dell U2723QE | Apple Studio Display |
|---|---|
| 3840×2160 | 5120×2880 |
| 3360×1890 | 3200×1800 |
| 3200×1800 | 2880×1620 |
| 3008×1692 | 2560×1440 (Default) |
| 2560×1440 | 2048×1152 |
| 2304×1296 | 1920×1080 |
| 2048×1152 | 1600×900 |
| 1920×1080 (Default) | 1440×810 |
| 1280×720 |
Device Frame Quality
When scaling footage to fit inside a device mockup, more source pixels produce a sharper result:
| Source | Device Frame Scale | Effective Resolution |
|---|---|---|
| 3840×2160 (Dell) | 60% | 2304×1296 |
| 3200×1800 (Mac) | 70% | 2240×1260 |
The difference in effective resolution is minimal. Both produce sharp results in device frame compositions.
Why 4K Export?
YouTube applies better compression codecs (VP9 or AV1) to 4K uploads, so a 4K upload looks sharper at 1080p playback than a native 1080p upload. Both workflows export at 4K to take advantage of this.
Dell U2723QE Workflow (4K)
Recording resolution matches the 4K composition exactly, so no upscaling is required in After Effects.
Display Configuration
Open System Settings → Displays and set the resolution to 3840 × 2160.
Set Chrome zoom to 200% in Settings → Appearance → Page zoom.
Chrome zoom only affects browser content. It does not reduce recording quality or change the capture resolution.
Camtasia Configuration
Open Camtasia → Settings → Project and set Canvas Dimensions to 4K UHD (3840×2160).
Open Camtasia → Settings → Recording and verify:
| Setting | Value |
|---|---|
| Target Capture Frame Rate | Full-motion (30 fps) |
| Camera Encoding | h264 |
Camtasia Export
Select File → Export and open Advanced Export Options.
| Setting | Value |
|---|---|
| Dimensions | Current (3840×2160) |
| Data Rate | Custom: 20,000 kbits/sec |
| Compression Type | H.264 |
| Keyframe Rate | 30 frames |
| Profile | High |
| Entropy | CABAC |
The default Camtasia bitrate is often too low for screen recordings with text. A higher bitrate prevents quality loss downstream.
After Effects
Create a 4K composition:
| Setting | Value |
|---|---|
| Width | 3840 px |
| Height | 2160 px |
| Pixel Aspect Ratio | Square Pixels |
| Frame Rate | 30 fps |
| Resolution | Full |
Import the Camtasia export. The footage sits at 100% scale—no adjustment needed for full-screen shots.
For device frame mockups, scale to approximately 60%.
Enable Bicubic Sampling on the footage layer. No sharpening is required.
Apple Studio Display Workflow (3200×1800)
The Studio Display doesn’t offer a native 4K resolution option. 3200×1800 is the highest available resolution below 5K, requiring a 120% upscale to fill the 4K composition.
Display Configuration
Open System Settings → Displays and set the resolution to 3200 × 1800.
Set Chrome zoom to 175% in Settings → Appearance → Page zoom.
Chrome zoom only affects browser content. It does not reduce recording quality or change the capture resolution.
Camtasia Configuration
Open Camtasia → Settings → Project and set Canvas Dimensions to Custom: 3200×1800.
Camtasia doesn’t have a preset for this resolution. Select Custom and enter the dimensions manually.
Open Camtasia → Settings → Recording and verify:
| Setting | Value |
|---|---|
| Target Capture Frame Rate | Full-motion (30 fps) |
| Camera Encoding | h264 |
Camtasia Export
Select File → Export and open Advanced Export Options.
| Setting | Value |
|---|---|
| Dimensions | Current (3200×1800) |
| Data Rate | Custom: 20,000 kbits/sec |
| Compression Type | H.264 |
| Keyframe Rate | 30 frames |
| Profile | High |
| Entropy | CABAC |
The default Camtasia bitrate is often too low for screen recordings with text. A higher bitrate prevents quality loss downstream.
After Effects
Create a 4K composition:
| Setting | Value |
|---|---|
| Width | 3840 px |
| Height | 2160 px |
| Pixel Aspect Ratio | Square Pixels |
| Frame Rate | 30 fps |
| Resolution | Full |
Import the Camtasia export. The footage appears at 100% scale with black bars around it.
For full-screen shots, scale to 120%.
For device frame mockups, scale to approximately 70%.
Enable Bicubic Sampling on the footage layer.
Optional Sharpening
The 120% upscale is gentle and may not require sharpening. If you notice slight softness and want to compensate, apply a light Unsharp Mask:
Effect → Blur & Sharpen → Unsharp Mask
| Parameter | Value |
|---|---|
| Amount | 25-30 |
| Radius | 1.0 |
| Threshold | 0 |
Preview at 100% zoom before committing. If the footage already looks sharp, skip this step.
To preview at 100% zoom, select View → Resolution → Full and use the scroll wheel to view at actual pixel size.
Export Configuration
Both workflows use the same export settings.
Select File → Export → Add to Adobe Media Encoder Queue.
Media Encoder Settings
| Setting | Value |
|---|---|
| Format | H.264 |
| Preset | Match Source - High Bitrate |
Video Settings
Under the Video tab:
| Setting | Value |
|---|---|
| Width | 3840 |
| Height | 2160 |
| Frame Rate | 30 |
| Field Order | Progressive |
| Profile | High |
Under Encoding Settings:
| Setting | Value |
|---|---|
| Bitrate Encoding | VBR, 2 pass |
| Target Bitrate | 40 Mbps |
| Maximum Bitrate | 60 Mbps |
Selecting VBR 2-pass automatically switches Performance from Hardware Encoding to Software Encoding. This is expected behaviour—2-pass encoding requires software processing.
Render Quality
At the bottom of the export settings panel, enable Use Maximum Render Quality.
Leave “Render at Maximum Depth” disabled—it increases render time without visible benefit for screen recordings.
Summary
Dell U2723QE (4K)
| Stage | Setting |
|---|---|
| Display | 3840×2160 |
| Chrome | 200% zoom |
| Camtasia | 4K UHD, 20,000 kbps |
| After Effects | 100% scale (full screen), 60% (device frame) |
| After Effects | Bicubic sampling |
| Media Encoder | VBR 2-pass, 40/60 Mbps |
Apple Studio Display (3200×1800)
| Stage | Setting |
|---|---|
| Display | 3200×1800 |
| Chrome | 175% zoom |
| Camtasia | Custom 3200×1800, 20,000 kbps |
| After Effects | 120% scale (full screen), 70% (device frame) |
| After Effects | Bicubic sampling, optional Unsharp Mask 25-30/1/0 |
| Media Encoder | VBR 2-pass, 40/60 Mbps |
Which to Choose?
Both workflows produce results I’m happy with.
The Dell records at native 4K, matching the composition exactly. No upscaling is required.
The Studio Display records at 3200×1800, requiring a 120% upscale to fill the 4K frame. This is a gentle scale that maintains sharpness.
Choose based on which monitor is available. If both are available, the Dell workflow is simpler since it skips the upscaling step.
What About 5K Recording?
The Studio Display can record at 5120×2880, but this exceeds the 4K composition size. Recording at 5K would mean scaling down to fit the timeline—capturing extra pixels just to discard them. No quality benefit, larger files, more processing.
5K recording would only make sense for compositions larger than 4K, such as 5K or 8K timelines. For a 4K YouTube workflow, 3200×1800 is the practical ceiling on the Studio Display.