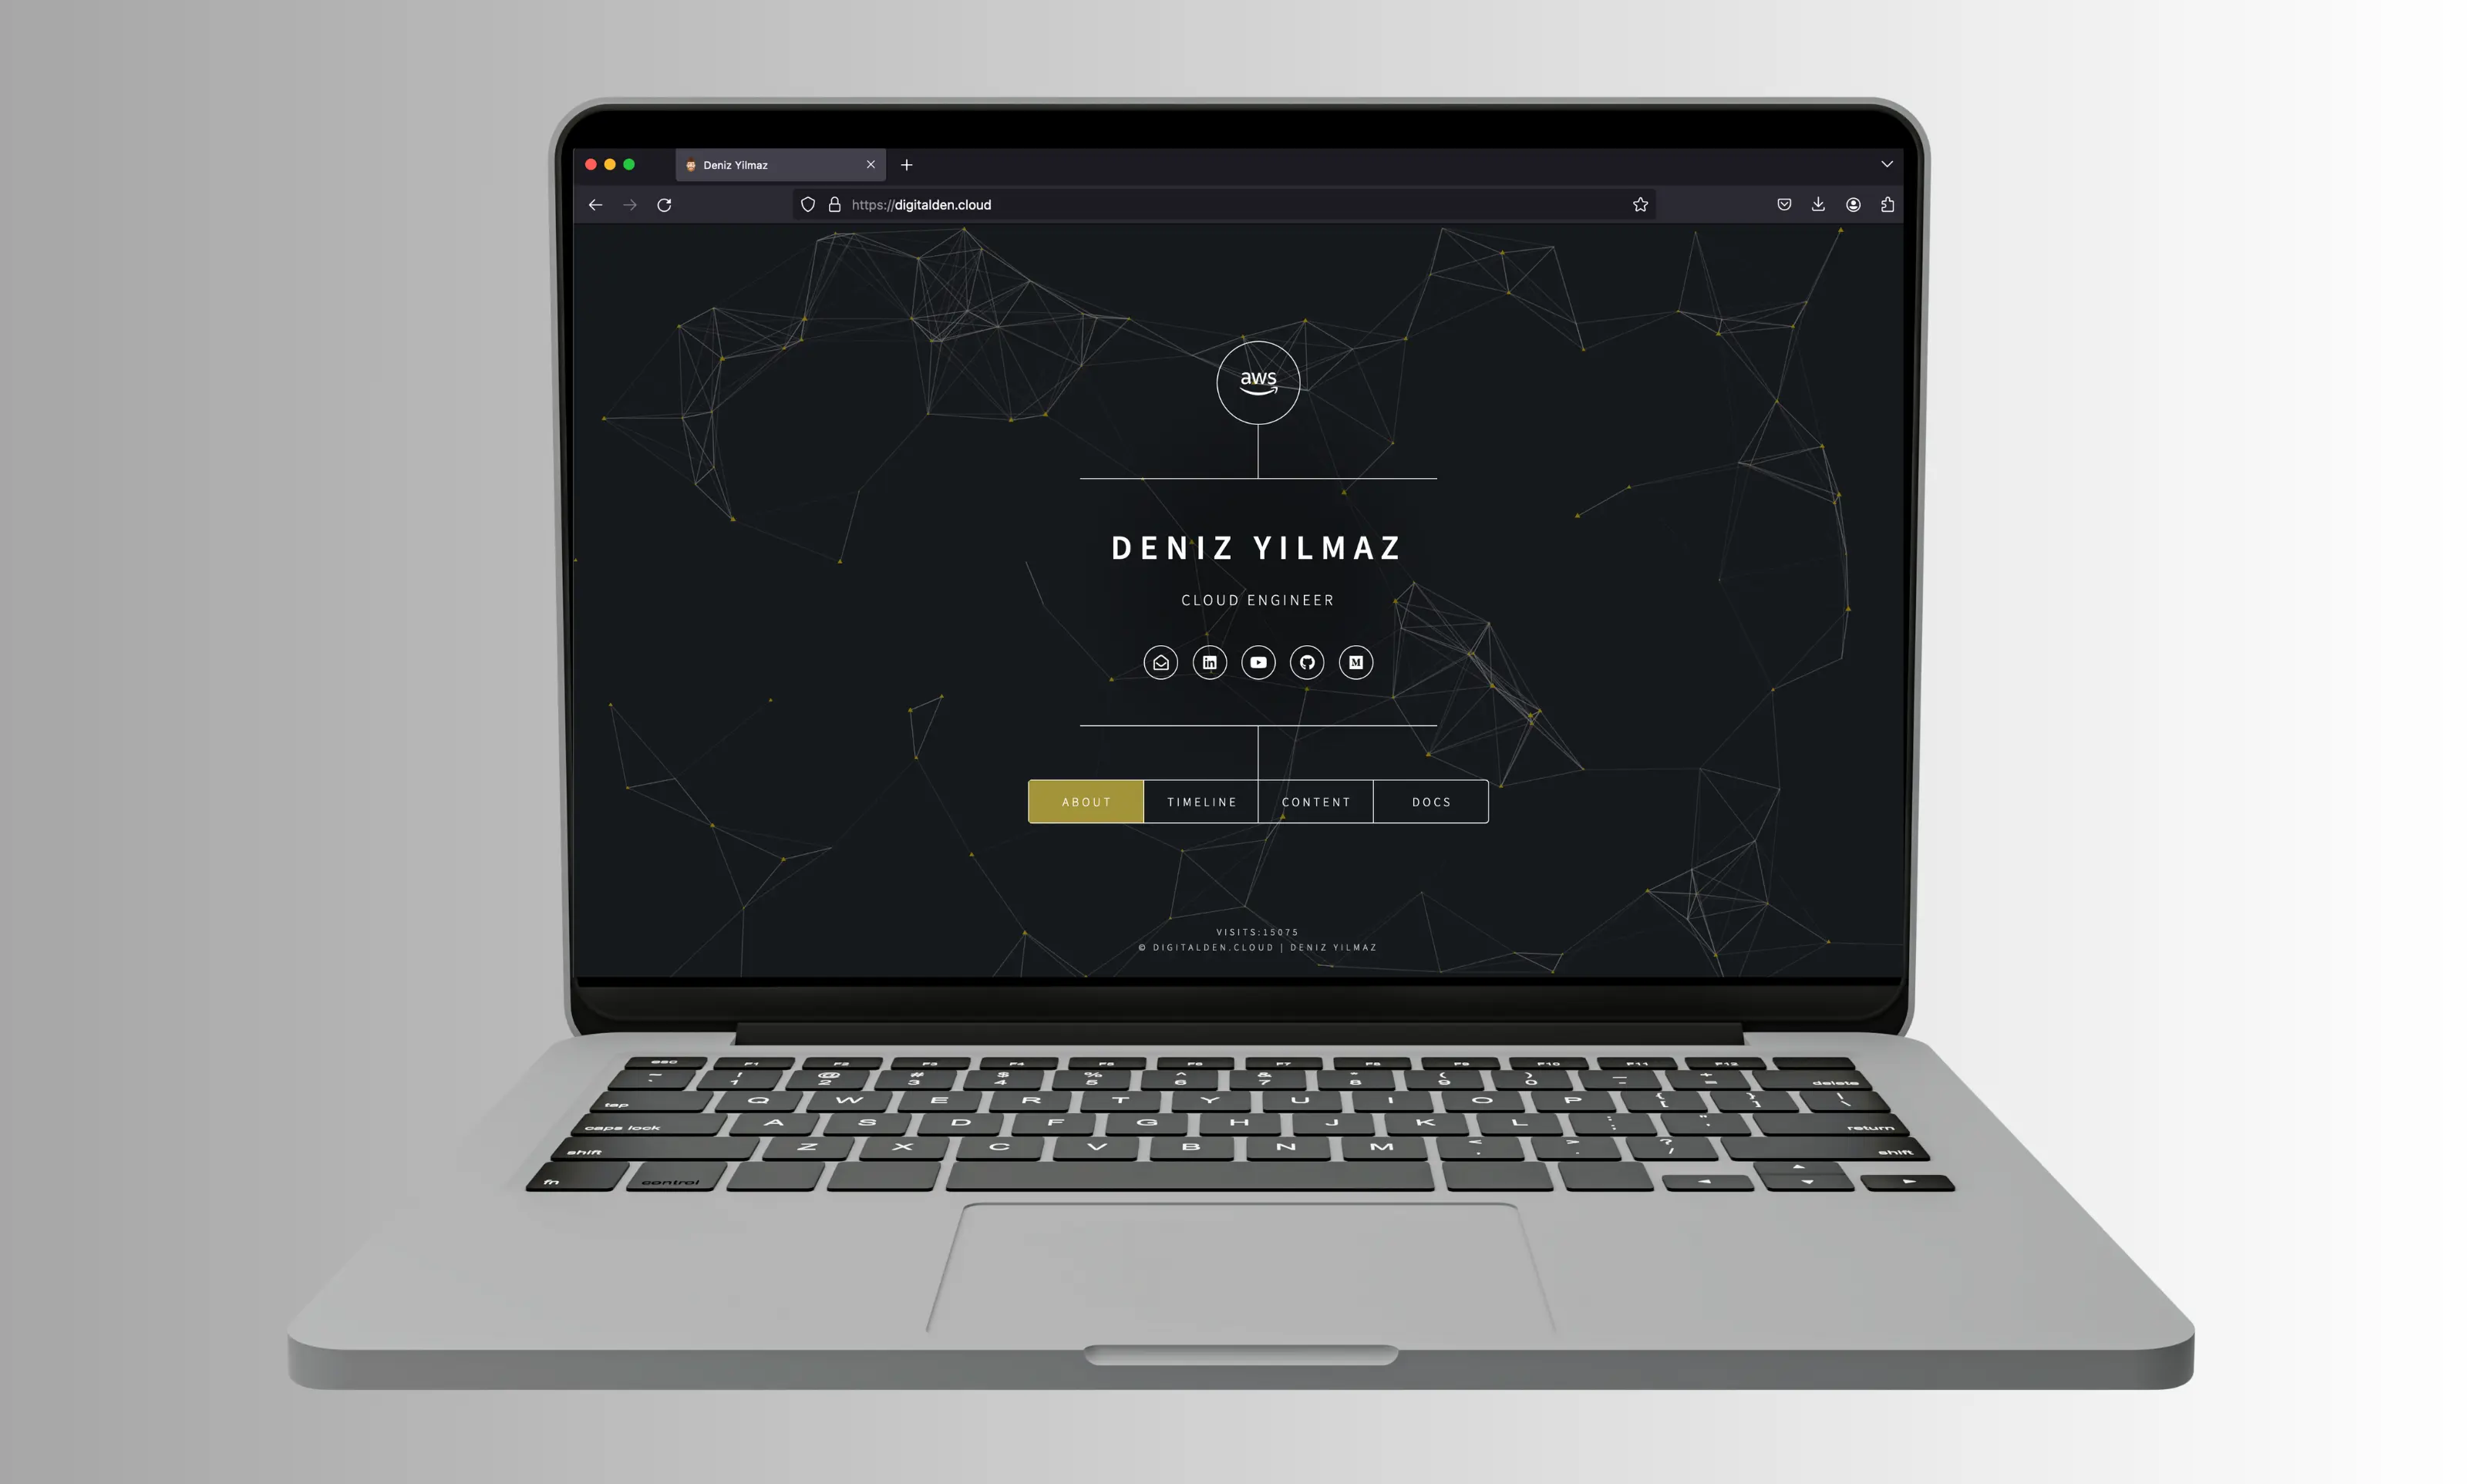
Particles.js Integration Tutorial for HTML5Up Dimensions Site Template
Particles.js Integration Tutorial for HTML5Up Dimensions Site Template
This tutorial shows you how to integrate particles.js into the HTML5Up Dimensions site template, while also addressing CSS conflicts and layering issues that occur.
- HTML5 UP Dimensions is a fully responsive HTML5 and CSS3 web template designed for a single-page layout.
- particles.js is an open-source JavaScript library for adding dynamic, interactive particle effects to web backgrounds.
- Live demo of the particle.js integrated with HTML5 UP dimensions site template visit https://digitalden.cloud
Check out the video tutorial at the end!
Prerequisites
- Visual Studio Code or any preferred code editor.
- Live Server extension for Visual Studio Code (optional but recommended).
Integration Process
- Download particles.min.js and place the particles.min.js file into the
assets/jsdirectory of your website. Append the following code to the end of your HTML5 UP Site template’s
index.html:1 2 3 4 5 6 7 8 9 10 11 12 13 14 15 16 17
<!-- BG --> <div id="bg"> <div id="particles-js"></div> </div> <!-- Scripts --> <script type="text/javascript" src="assets/js/particles.min.js"></script> <script src="assets/js/jquery.min.js"></script> <script src="assets/js/browser.min.js"></script> <script src="assets/js/breakpoints.min.js"></script> <script src="assets/js/util.js"></script> <script src="assets/js/main.js"></script> <script type="text/javascript"> particlesJS.load('particles-js', 'assets/config/particles-js.json', function() {}); </script> </body> </html>
- Download and place the particles-js.json file into a newly created
assets/configdirectory.
Resolving CSS Conflicts
To ensure compatibility with particles.js, append this CSS to your
main.cssin the assets/css directory.1 2 3 4 5 6 7 8 9 10 11 12 13 14 15 16 17 18 19 20 21 22 23 24 25 26 27 28 29 30 31 32 33 34 35 36 37 38 39 40 41 42 43 44 45 46 47 48 49 50 51 52 53
/* Particles.js Integration Styles */ /* Disable pointer events on the background to allow interaction with particles */ #bg { pointer-events: none; } /* Style and position the particles container */ #particles-js { position: relative; top: 0; left: 0; width: 100%; height: 100%; z-index: 2; } /* Ensure elements before the background have higher z-index */ #bg:before { z-index: 3; } /* Disable pointer events on the wrapper */ #wrapper { pointer-events: none; } /* Enable pointer events on particles container, icons, navigation, and footer paragraphs */ #particles-js, ul.icons, #header nav ul, #footer p { pointer-events: auto; user-select: none; /* Prevent user text selection */ } /* Allow text selection on footer paragraphs on hover or focus for better accessibility */ #footer p:hover, #footer p:focus, #header .inner:hover, #header .inner:focus { user-select: auto; } /* Enable pointer events on the main content area */ #main { pointer-events: auto; } /* Optionally hide the after pseudo-element of the background */ #bg:after { display: none; }
- To reveal your background image and allow the particle effects to overlay it, ensure the
#bg:after { display: none; }rule in your CSS is commented out. - If you wish to change the background, update the
background-imageURL within the#bg:afterselector to your preferred image.
Customizing Particle Effects
- Adjust the particle settings in the
particles-js.jsonfile within theassets/configdirectory. - Optionally, use the particles.js online configuration tool for real-time customization. Download your configuration and replace the content in your project’s config file.
Video Tutorial
Credits
This project was made possible by the contributions of HTML5Up for their site templates and Vincent Garreau for creating the particles.js library.
This post is licensed under CC BY 4.0 by the author.
